The Elder Scrolls V: Skyrim came out in 2011, and even today, it is loved by players. Eventually, Bethesda dropped three DLC add-ons for the main game: Dawnguard, Hearthfire, and Dragonborn.
Today, I will tell you about one of the best quests in the Dawnguard DLC called Lost to the Ages.
Since this quest is a part of the Dawnguard DLC, you must install it. If you are playing the Legendary Edition or Special Edition (like me), you can simply pick this quest and continue playing.
The Lost to the Ages quest takes the Dragonborn to four different locations in Skyrim to find Aetherium shards. You need to collect these shards and investigate a lost ancient Dwemer secret.
In this Skyrim guide, I will do a Lost to the Ages quest walkthrough and share how to get all the Aetherium shards, how to use the shards at Aetherium Forge, and how to craft powerful, enchanted weapons from them.
So, let’s jump into the guide!
How to Start the Lost to the Ages Quest?
There are two ways to start the Lost to the Ages quest. You can go to one of the below-mentioned locations to find The Aetherium Wars book by Taron Dreth and pick up the quest. Or, directly visit Arkngthamz and talk to Katria.
➡️ Method 1: Find the Aetherium Wars Book
The Aetherium Wars book can be found in multiple locations around Skyrim, but the most popular ones are:
- The Arcanaeum of the College of Winterhold
- Bards College in Solitude
- Castle Volkihar
- Castle Volkihar Undercroft
- Fort Dawnguard, on a bookcase beside the Arcane Enchanter.
- Fort Snowhawk, on a bookshelf.
- Katria, can be looted off her body in Arkngthamz.
The Aetherium Wars book is a treatise about a mysterious but magical material known as Aetherium. When you read the book, a miscellaneous quest begins called “Investigate the ruins of Arkngthamz”.
There are many other locations around Skyrim where you can find The Aetherium Wars book. I found mine at Fort Dawnguard. Let me show you how.
Travel to Fort Dawnguard first. If you have already discovered it, which I assume you already have, just fast travel to the place.

Head South, and you can see the Fort Dawnguard gates.

As you enter the Fort Dawnguard, take a left to go to a room where Gunmar is reading.

The Aetherium Wars book is lying on the bookshelf next to Gunmar. Pick up the book and open it.

I recommend you read the book as it is only a couple of pages. Also, since Skyrim is one of the best story-driven games, I suggest you acquire as much information about the world of Skyrim.

As you close the book, you will be assigned a miscellaneous quest called “Investigate the ruins of Arkngthamz”. The map will be updated, and now you can head to Arkngthamz.

➡️ Method 2: Visit Arkngthamz and Talk to Katria’s Ghost
If you do not want to find The Aetherium Wars book or miss it, simply head to Arkngthamz directly. The city of Arkngthamz is located in The Reach – one of the nine Holds (administrative regions) of Skyrim – just southeast of Markarth.
The whole point of the Lost to the Ages quest is to find the four pieces of Aetherium shards, and Arkngthamz is one of the four locations where you will find one of the shards.
So, you can start the quest directly by reaching Arkngthamz and talking to Katria’s ghost.
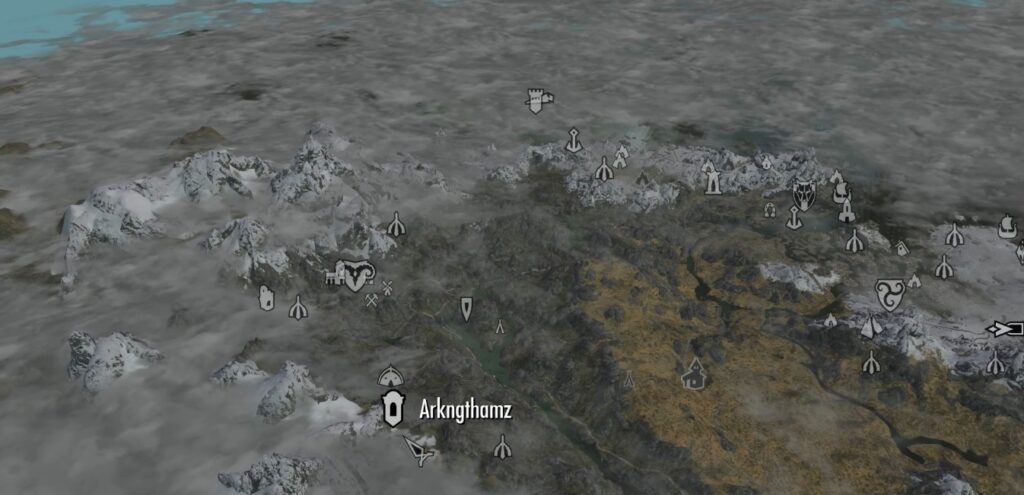
Once you’re in the Arkngthamz, head east to find the door to the chamber.

Inside the area, you will hear a faint voice saying, “Turn back…”. Don’t be afraid, it is Katria’s voice! 😂
Katria will persuade you to turn back and abandon the quest because she tried it herself and fell to her death. So, now she dissuades other adventurers from completing this quest.

Beside the specter of Katria, you will find her dead body. You can loot the items on her. One of the items you will find on her is The Aetherium Wars book.
Grabbing and reading this book will assign you the miscellaneous quest, “Reach the Summit of Arkngthamz”.

I also suggest you grab Katria’s Journal, which has a crucial hint that will help you unlock a certain entrance.

No matter how your conversation with Katria goes, she will accompany you on the Lost to the Ages quest.
Now that you have the Aetherium Wars and Katria’s Journal, let’s head to the first Aetherium shard location – Arkngthamz.
Also Read: Skyrim: How To Reach Raven Rock? [The Complete Guide]
Aetherium Shards Locations in Skyrim
➡️ Location 1: Arkngthamz (Southeast of Markarth)
On the south of Katria’s body, you will find an entrance to the Arkngthamz chambers. The place is known for its constant earthquakes and Dwemer creatures.
So, along the way, you will feel some shockers. Katria will keep commenting on various enemies on the way and also warn you about upcoming ambushes. She will also show you the spot where she fell from.

You can also grab Zephyr, a powerful bow that shoots 30% faster than other bows. Yes, it’s enchanted with magic. Katria will let you know about the bow with her comment.

Inside the chambers, you will find a massive interior. This large antechamber has some Falmer corpses, skeletons, dilapidated Dwemer spheres, and arrows. This is a highly effective and lethal security system, and Katria will warn you, too.
If you have a follower like Serana, then she can help you out in the fight against these creatures.
The kinetic resonators must be hit in a pre-determined sequence to unlock the door. Katria will also tell you that she hit them in the wrong order, and an earthquake broke out.

This is where you will find the first clue in Katria’s Journal. She has noted down the correct sequence of two resonator locks.
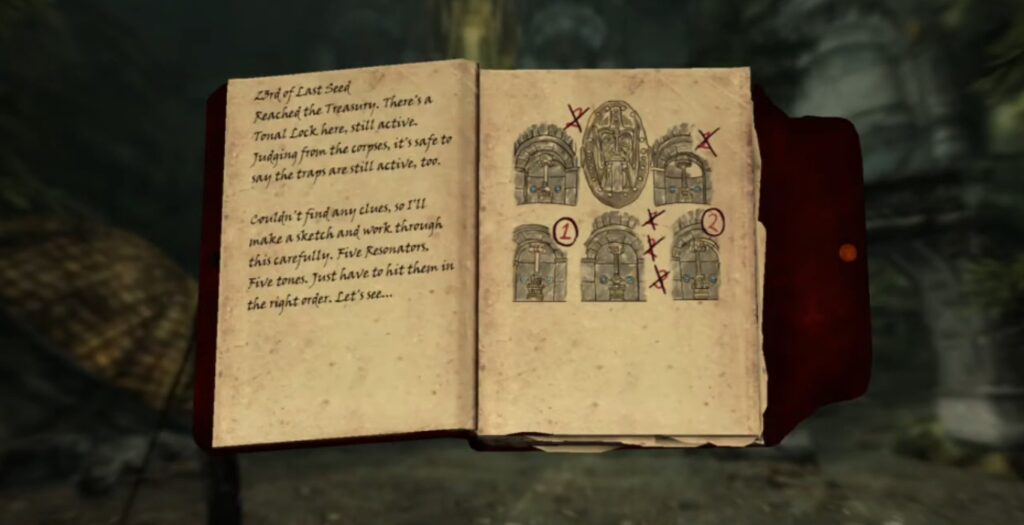
Ahead, in some distance, you will see the body of an adventurer. You can loot the body for a scrap of paper.
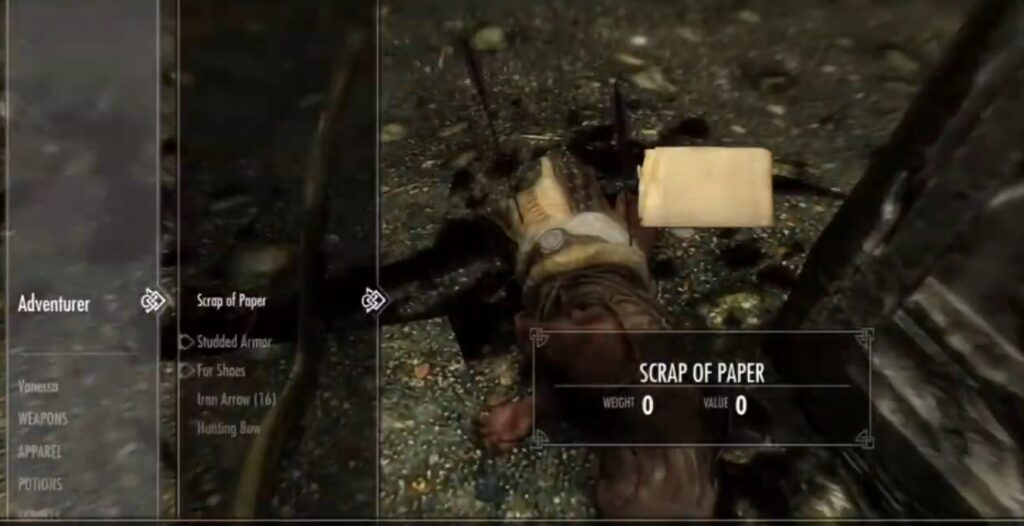
You will find the second clue about the third resonator in that scrap.

If you still haven’t figured out the puzzle, let me help you. Here’s the sequence you need to follow to open the vault for the first Aetherium shard.

Just use Zephyr or any bow to shoot arrows at the tonal locks and open the vault. On your left and right, you will see two doors opening.

Enter the vault and collect the first Aetherium shard.

Also Read: Skyrim Volskygge Puzzle | How to Conquer the Four Totem Challenge
➡️ Location 2: Raldbthar (East of Irkngthand)
Now, let’s head to Ralbdthar, the location of the second Aetherium shard. You can fast-travel to this location if you have already discovered it or find it east of Irkngthand.

When you enter the location, you will find some jammed gears. There are multiple gears like this, and all of them are jammed. You need to unjam these gears to unlock the entrance to the vault that holds the Aetherium shard.

There is one cogwheel which many new players fail to find. It is underwater and is stuck because of a Dwarven scrap.

Once all the cogwheels are unjammed, you need to come up on the bridge and push the Activate button.

Now, an enemy will appear. You need to beat this enemy to enter the vault and claim the shard.

Once you defeat the enemy, head to the vault and collect the second Aetherium shard.

➡️ Location 3: Mzulft (Southeast of Windhelm)
Collecting the third Aetherium shard is quite straightforward. Go to Mzulft, which lies southeast of Windhelm. Interestingly, Mzulft is also one of the locations for The Aetherium Wars book.
So, it is possible to find the book and the first shard here instead of Arkngthamz.

The third shard is located in the Dwarven Storeroom right before the entrance into Mzulft.

You will need lockpicking skills to unlock these doors and claim the shard.
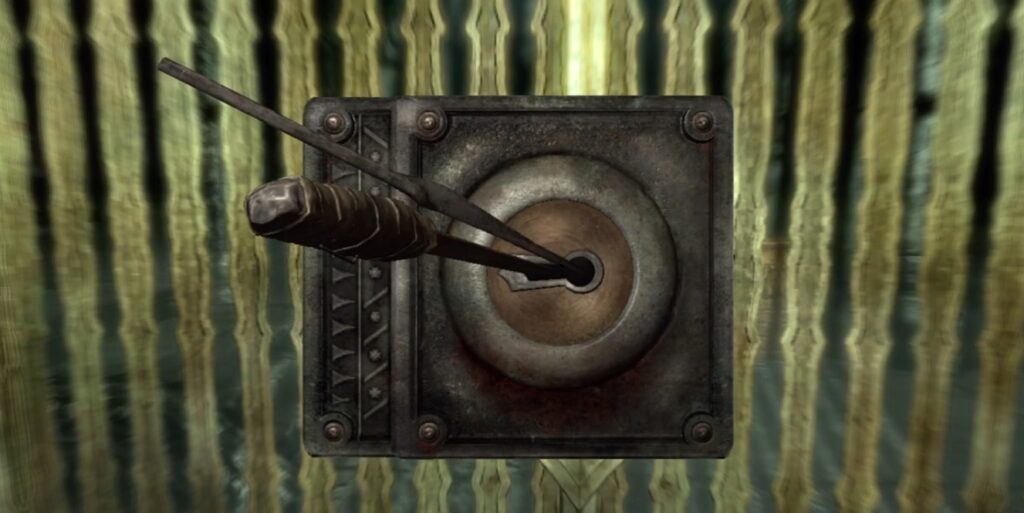
Once you are inside the vault, claim the third Aetherium shard and also loot the other items.

➡️ Location 4: Deep Folk Crossing (Northeast of Markarth)
Deep Folk Crossing is near Markath and the location of the fourth Aetherium shard.

Deep Folk Crossing is a Dwemer bridge going over a river. Cross the bridge to go to the north side and up a slope to retrieve the fourth and last Aetherium shard. It will be lying atop a plinth. You can also loot some other items like a Dwarven helmet, a Dwarven sword, and a Dwemer Convector.

Collect the final shard, and you have completed 80% of the Lost to the Ages quest.

There is no correct sequence to acquire the Aetherium shards. You can follow any sequence you want. Upon finding the last shard, Katria will mention that all that is left to do now is find the Forge.
Also, you must remember that the Aetherium shards are the last of Aetherium. There is no more Aetherium in Skyrim after you collect all the shards. These shards were used by Dwemer (a group that mysteriously disappeared from Skyrim) to create magically enhanced weapons.
You are going to do the same. But to craft Aetherium weapons, you need to locate Aetherium Forge. So, let’s do that.
Also Read: Skyrim: How to Get Madness Ore & Forge It? (Fast and Easy!)
Where is the Last Aetherium Forge?
According to the Elder Scrolls lore, many city-states housed the Dwemer communities. However, internal conflicts began when Aetherium was discovered in abundance by the Dwemer in Blackreach.
An alliance of four cities, led by Arkngthamz, was established in the form of a research center called Aetherium Forge. The center oversaw Aetherium’s extraction, processing, and study.
However, the internal conflicts worsened, and the cities were turned to dust. The Dwemer communities disappeared, and the new High King ruled the region.
If you read The Aetherium Wars book, on the last page, the final paragraph reads:
But nothing like the Aetherium Forge described in the inscriptions has ever been found within the borders of Skyrim. It may have been destroyed long ago by the Nord invaders or the Dwemer themselves. Or perhaps it, like the secrets of Aetherium itself, still remains to be discovered.
So, there is no such place called Aetherium Forge on the Skyrim map. You have to use the Aetherium shards at the Ruins of Bthalft to unleash the Aetherium Forge. The Ruins of Bthalft is located south of Ivarstead and east of the Rift Imperial Camp.

There will be some bandits here, so deal with them first. After that, Katria will show you a Dwemer Globe that will hold the Aetherium shards.

The globe will rotate and stop. Katria will prompt you to check the shards and advise you to remove them.

Retrieve the Aetherium Crest and move away from the place. You will notice that the place will start shaking.

The globe will shoot up into the sky and reveal a lift underneath.
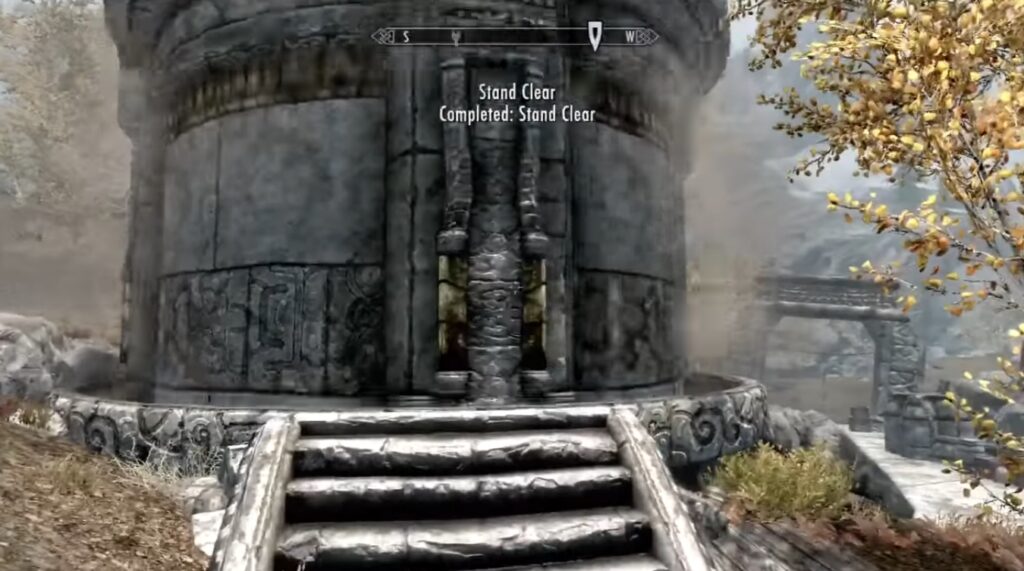
Use the lift to descend into the abandoned Dwemer Ruins. Katria will tell you nobody has set foot in this place in over four thousand years. Torches and beacons will automatically light your way.
Before you enter the Aetherium Forge, you will come across a massive locked door with two tonal locks like you saw in Arkngthamz. Shoot them both, and the Forge Room will be unlocked. The sequence doesn’t matter here.

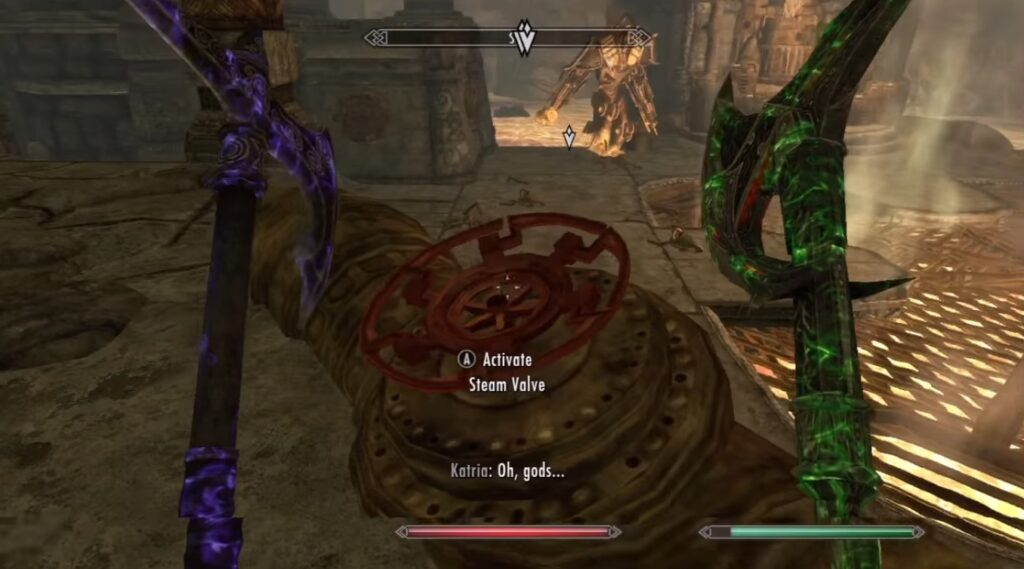
Inside the Forge Room, there are a few things that you will have to do. First, turn off the Steam Valves. Second, kill the Forgemaster.
And third, loot the treasure chest that lies on the western side of the Forge Room.
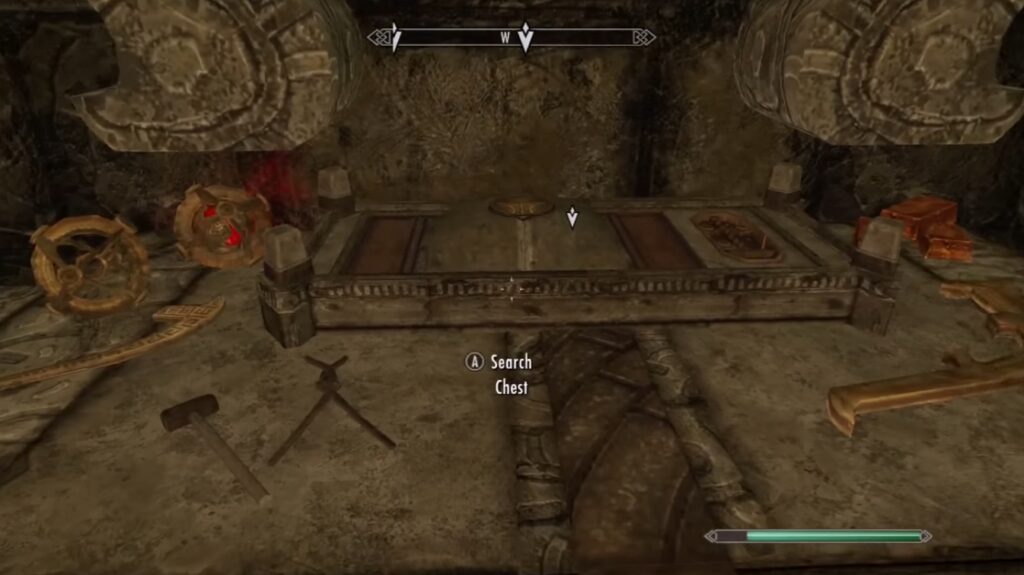
Aetherium, while it has a strong magical aura, is alchemically inert, and no known process can enchant, smelt, mold, bind, or break it. Thus, you will need these items from the treasure chest to make weapons from the collected Aetherium.
Moreover, if you’re adamant about enchanting your weapons, you should check out the best enchantments in Skyrim that we’ve listed!

Once you have killed the Forgemaster and looted the crafting items from the chest, head to the Aetherium Forge and collect your reward for the Lost to the Ages quest.

Rewards for Completing the Lost to the Ages Quest
You can craft one of the three Aetherial items. You cannot forge all three of them, only one. Since the Aetherium shards you possess are the last of Aetherium in Skyrim, you cannot use Aetherium Forge twice.

I would not recommend the Aetherial Staff, as all it does is summon Dwarven Spiders or Spheres. The Aetherial Shield can hit enemies and turn them ethereal for fifteen seconds, meaning they can’t hit you or you can’t hit them.
I think the Aetherial Crown is the best Aetherial item as it allows the Dragonborn to hold two Standing Stone powers simultaneously.
However, ensure that you’ve got enough carry weight. You can also check out our guide to increase carry weight in Skyrim. This will help you carry even something as heavy as the Aetherial Shield!
Once you choose your Aetherial item, Katria will thank you for your assistance and disappear, bound for Sovngarde. This will complete the Lost to the Ages quest.
After completing the Lost to the Ages quest, there is a random chance that you might encounter Taron Dreth – the author of The Aetherium Wars. He will have three mercenaries with him.
If you have any Aetherial items in your possession, Dreth will ask you how you acquired them and initiate a fight with you, no matter which dialogue option you choose.
Conclusion
So, that’s all you need to know about the Lost to the Ages quest in Skyrim. From where to find the shards to the rewards upon finding the Aetherium Forge, we’ve covered all the essentials. If you’re playing as a mage, you might also be interested in finding the Atronach Forge in Skyrim. This forge will allow you to craft magical scrolls, staves, and more!

