A weaponsmith in Minecraft is a special breed of villager that specializes in making and trading weapons and related goods. These operate in villages, specifically on a blacksmith’s table.
Weaponsmith in Minecraft offers a lot of advantages. These let players easily get potent weapons and gear without having to gather certain items, or waste time at a forge.
It can be very handy in situations where, for instance, a player plans to go fight or explore and needs to do some quick gearing up. This also helps in trading with weaponsmiths who can give you emeralds in exchange for rare stuff.
In this tutorial, we will walk you through how to make a Weaponsmith in Minecraft step by step. We will then show you where to strike when using Weaponsmith. Continue reading to learn about the design and enhancement of such a viable game interface.
Also Read: Minecraft Commands: The Ultimate Compilation To Command Your Game
Materials Required to Make a Weaponsmith in Minecraft
Finding a villager with the Weaponsmith profession is the first step to becoming one in Minecraft; you can’t just “craft” one like you would craft an item. To become an armorer, you will need:
➡️ Villagers
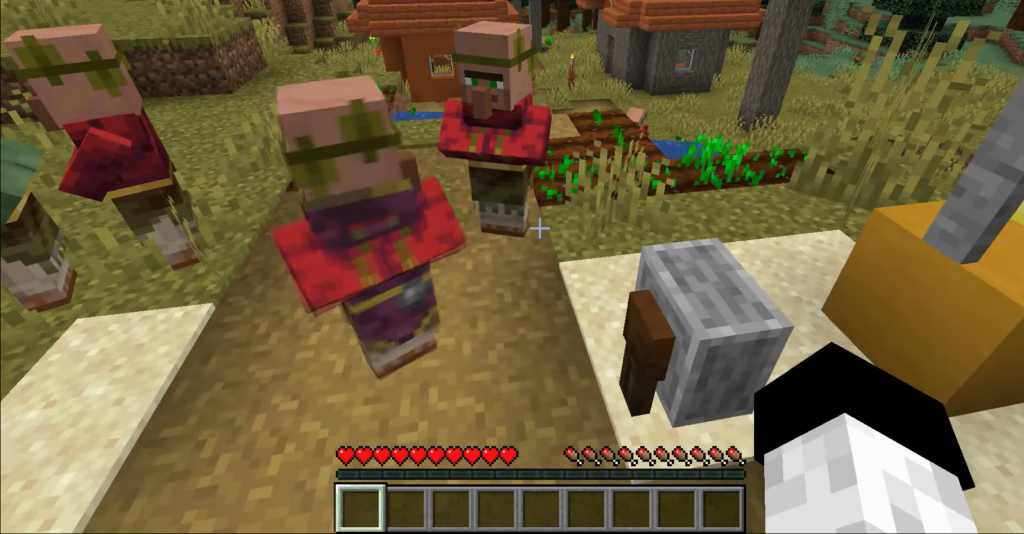
A village where villagers live must be located or created. Look around the blacksmith’s table for villagers with black aprons.
➡️ Smithing Table

This is where the Weaponsmith workplace is located. In order for a villager to pursue the Weaponsmith profession, you must build a blacksmith’s table in the village.
➡️ The Bed
Make sure the village has enough beds to welcome all incoming villagers. In order for a villager to practice his profession, he needs beds.
➡️ Resource for Trading
As a Villager levels up to Weaponsmith, you’ll demand emeralds along with trading supplies like coal, iron ingots, and other raw materials.
Also Read: How to Add Mods and Skins into Minecraft Education Edition?
Steps to Transform Villagers into Weaponsmiths in Minecraft
In Minecraft, turning a villager into a Weaponsmith means giving them access to a blacksmith’s table. The procedure is as follows:
#1. Find a Village
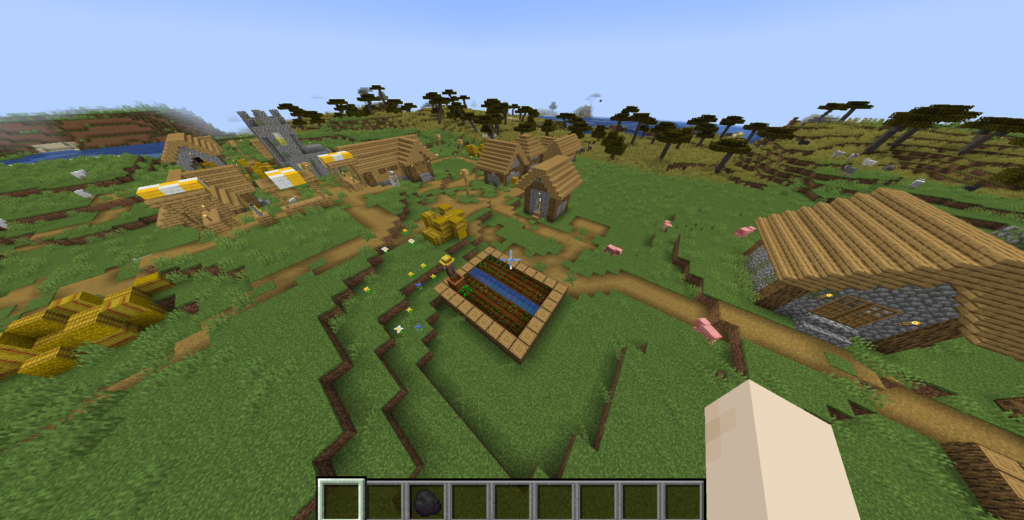
Find or build a village by providing enough beds and workstations to attract villagers.
#2. Identify the Villager
Find a villager to turn into a Weaponsmith. This villager is expected to be unemployed and ready to accept a new job.
#3. Place the Smithing Table
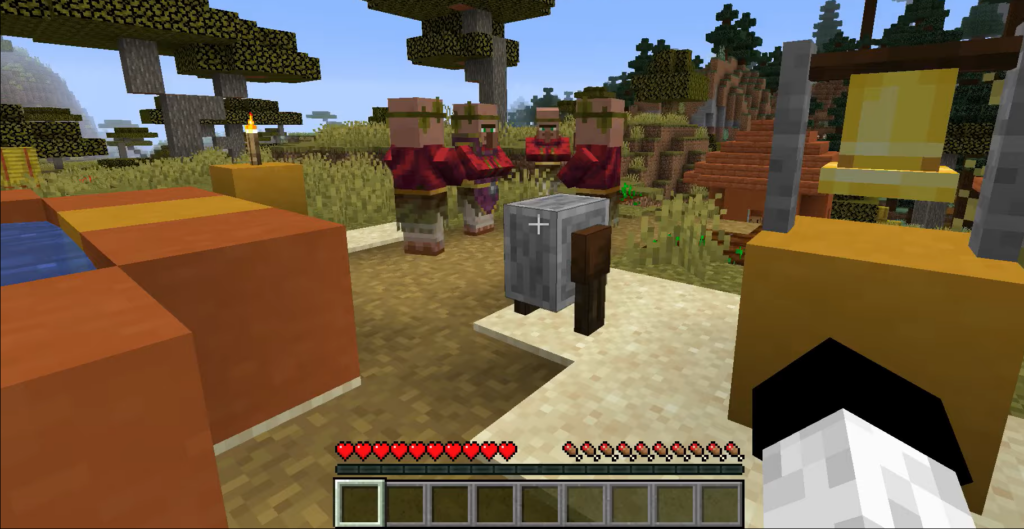
Build a blacksmith table or place it somewhere near the village. Make sure it hasn’t already been claimed by someone else and is available for use.
#4. Time and Access
When the chosen villager has “work time”, which is usually during the day, he should find his way to the blacksmith’s table. They may need some time to identify and take over the workstation.
#5. Transformation

After a villager approaches and engages the smithing table, they become a Weaponsmith.
#6. Confirmation
Look for changes to villagers’ appearance, such as the addition of a blacksmith’s apron to mark their new armorer status.
#7. Trading and Interaction
After transforming, engage in a conversation with the Weaponsmith villager to see their available trade items. They will exchange various weapons and equipment for emeralds or other resources.
Also Read: How to Use the XP Command in Minecraft
Tips for Maximizing the Benefits of a Weaponsmith in Minecraft
The following tips will help you get the most out of Weaponsmith:
#1. Optimize Trades
Pay attention to the transactions carried out by the Weaponsmith. To get better deals, make sure you check them often and follow their trading restrictions. Use extra resources like coal, iron ingots, or other exchangeable items to get magical equipment or valuable weapons.
#2. Secure the Villages
Keep the villagers safe, especially the Weaponsmith, and defend the village from the hostile mobs. Place golems, fences, and light sources as a means of defense.
#3. Expand the Population of Villagers

Provide enough workspaces and beds to support the expansion of the village by attracting new villagers. This expands trade opportunities by increasing the possibility of having many Weaponsmiths.
#4. Management of the Economy
Ensure that the economy of the municipality is in balance. To enable ongoing trades with the Weaponsmith, farm resources or create automated systems that produce emeralds and other required trade materials.
#5. Upgrade the Workstation
Think about updating the Weaponsmith workspace. Some workstation upgrades may provide additional trading opportunities or benefits for the Weaponsmith in updates or modified versions of Minecraft.
#6. Use Enchantments

Use Weaponsmith crafts to get magical weapons or tools. Enchantments increase the functionality and robustness of your equipment, increasing its effectiveness in tasks or conflicts.
Moreover, Enchantments like the Bane of Arthropods or the Piercing Enchantment can help you defend your village better!
#7. Create Trading Halls or a Center
Set aside certain parts of your base for trade. By centralizing trading activities and facilitating easy access for Weaponsmiths and other villagers, the trading process is streamlined. The trading process will also be streamlined if you can make a librarian villager in Minecraft!
Also Read: Mastering Time: How to Change the Random Tick Speed in Minecraft?
Conclusion
If you want to get expensive weapons and equipment in Minecraft, turning villagers into weaponsmiths is a smart move. Villagers can take up the Weaponsmith profession by making a blacksmith’s table available to them in the village.
Since villagers must claim the workstation during working hours, this change requires patience. Effective implementation of weaponsmiths can only be achieved by ensuring safety in the village, high populations, as well as better trade.
Players can effectively use the potential of Weaponsmiths to enhance their gaming experience in the vast world of Minecraft by paying close attention to the process and diligently managing the village economy.
And, if you want to improve the condition of your village, connecting it to the rest of the in-game world is of utmost importance. To do that, check out our guide on how to make rails in Minecraft!