The classroom-friendly version of Minecraft, the Minecraft Education Edition, promotes creativity, teamwork, and learning. Educational aspects such as lessons learned through play are combined together and make it possible for educators to personalize learning pathways depending on pupils.
Mods in this context signify extra content, gameplay, and supplementary materials added into Minecraft. Teachers have a possibility to adjust the game in order to direct it toward some educational goals, increasing enthusiasm and developing of critical attitude.
Conversely, skins provide aesthetic modifications to the player character. In lecture format, appearances can refer to literary, historical, or scientific figures that help make lecturers interesting and more eye-catching. Skins and mods enhance the dynamics of play on Minecraft, thus making it worth using in education where different topics are involved.
The steps to get mods and skins in Minecraft Education Edition are covered in this post, along with system and installation requirements. It provides details on how to download various mods and skins and, finally, a how-to on switching old skins with new ones for an exciting learning activity.
Also Read: How to Use the XP Command in Minecraft
How to Download and Add Mods and Skins in Minecraft Education Edition
➡️ Downloading Mods
#1. Choose a Trusted Source

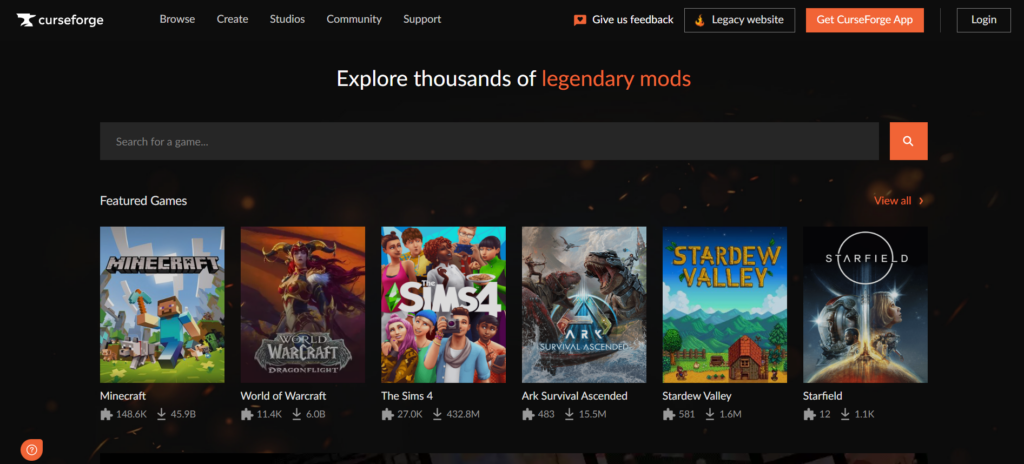
Choose a trusted website or game platform that offers mods for Minecraft Education Edition. Usually, trusted websites are ones like CurseForge or the official Minecraft site.
#2. Find Compatible Mods
Make sure the mods you choose work with the version of Minecraft Education Edition you are using. Choose carefully, as mods vary by version.
#3. Download the Mod

Once you have selected the Minecraft mods you want, click the Download button. Make sure you are downloading the appropriate version. Common file formats for mods are .jar or .zip.
#4. Locate the Game Folder
Unlock the game folder for Minecraft Education Edition. This is usually found in the “eduEdition” or “games” folder in the Minecraft directory.
#5. Install the Mod
Paste the mod file you downloaded into the “mods” folder of the game. Create a “mods” folder if it doesn’t already exist.
#6. Start Minecraft
Start the Educational Edition of Minecraft. You should now be able to access the installed mod.
Also Read: Minecraft Commands: The Ultimate Compilation To Command Your Game
➡️ Downloading Skins
#1. Access to the Appearance Platform

Go to the official Minecraft website or a trusted Minecraft skins marketplace like MinecraftSkins.
#2. Choose a Look
Choose your preferred skin by looking at the ones that are offered. Make sure it works with the version of Minecraft Education Edition you have.
#3. Download the Skin

On the skin website, find the download button. Save the skin in PNG format.
#4. Open your Minecraft Profile
Open the Minecraft launcher and then sign in. Select the “Profile” tab.
#5. Upload the Skin
In the Appearance section, select “Select File” or “Browse“. Select the skin.png file you downloaded.
#6. Apply Skin
The new skin should be applied the next time you log in if you save your profile.
Also Read: Exit Code 1 in Minecraft | Uncovering Common Causes and Solutions
System Requirements and Prerequisites for Installing Mods and Skins
The prerequisites and system requirements listed below can be used to install mods and skins in Minecraft.
#1. Internet Connection
Make sure your connection is reliable when downloading and using skins directly from the Internet.
#2. Access to Profile Settings
Make sure the Minecraft Education Edition launcher allows access to the profile settings for the skin application.
#3. Check for Updates
Make sure compatible skins, mods, and Minecraft Education Edition are updated regularly.
#4. Compatible Mod Version
Verify if the mod is suitable for the latest version of Minecraft Education Edition.
#5. Backup your Game
Make a backup of Minecraft Education Edition before installing the add-on.
#6. Understand the Appearance Format
Minecraft skins are in .png format; make sure your skin is in this format.
Also Read: Minecraft Chunkbase: Uncovering Hidden Biomes and Structures
Conclusion
Using skins and mods to enhance your Minecraft Education Edition experience is a creative and accessible process. You can easily add new features to the game by installing Minecraft Forge, choosing compatible mods from reliable sources, and placing them in the appropriate place.
Similarly, selecting, uploading, and applying your chosen design through your profile settings is how you customize your avatar with new skins. These simple steps allow teachers and students to customize their online spaces to create a more dynamic and immersive learning experience in the world of Minecraft.
Now, you can read about how you can change the random Tick Speed in Minecraft, making it easier to gain resources!

