Operation Elbrus is a legendary quest introduced in Season of the Risen in Destiny 2. Operation Elbrus’s quest unlocks every week, but if you missed some of the previous weekly missions, you can still catch up and complete all of the quest steps in one go. Our Destiny 2: Operation Elbrus guide will go over the prerequisites for the quest, and we will also help you complete the questline to earn all rewards.
How to Unlock Destiny 2: Operation Elbrus
You can unlock Operation Elbrus after you complete Rising Tensions. The quest is automatically added to your inventory, so check your Quests section. If you don’t have Rising Tensions unlocked, here’s what you need to do:
Step 1: Complete “The Investigation” in the Witch Queen campaign
Launch The Witch Queen campaign and progress until you get “The Investigation” mission. Complete it to unlock Rising Tensions.
Step 2: Complete “Hard Evidence”
After “The Investigation”, the Hard Evidence quest will be added to your inventory.
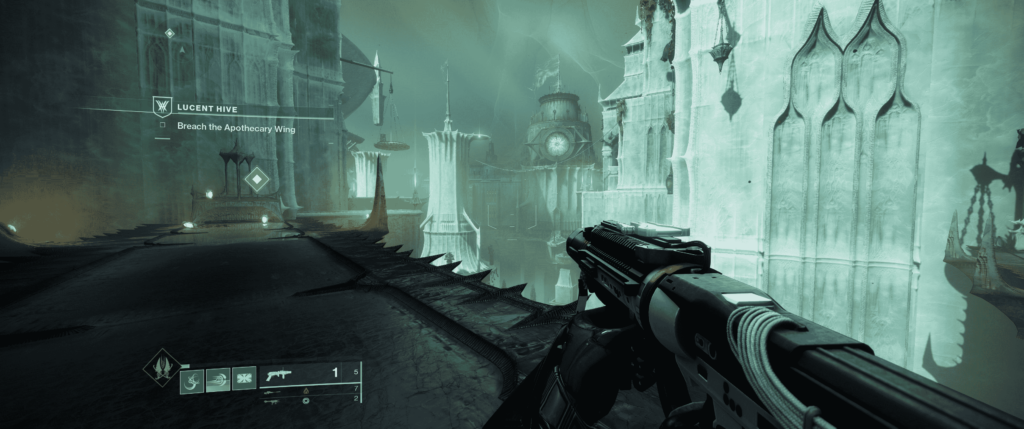
- Visit the Evidence Board and bring the Osmic Fragment to the Hidden in the Enclave.
- Visit Quagmire for a sample.
- Defeat the Lucent Brood ambush.
- Go back to the Evidence Board.
- Review the case with Saladin.
Step 3: Visit The Hangar (War Table)
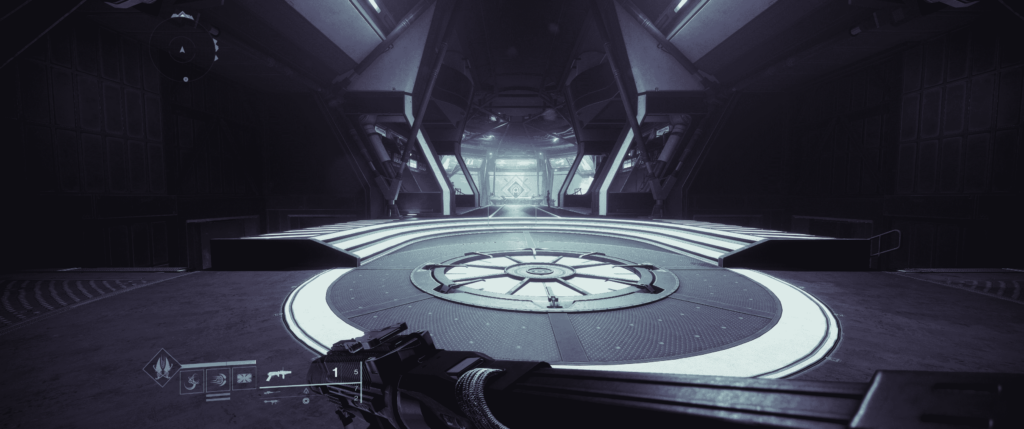
Meet the Vanguard at the Hangar. Go to the Tower in the Destinations tab of the Director and walk to the meeting point in the Hangar to initiate the next quest step. Speak to Caiatl and Saladin to get the next quest step. After the cutscene, Saladin will talk to you alone and ask you to head to the PsiOps Battleground in the EDZ.
Step 4: Complete the PsiOps Battleground in the EDZ.
The new PsiOps Battlegrounds activity is available on the EDZ map. Look or the sword icon and launch the activity. Complete the activity and head back to the War Table in The Hangar to talk to Saladin. This completes the Rising Tensions quest and unlocks Operation Elbrus.
How to Complete Destiny 2: Operation Elbrus
Operation Elbrus is a series of quests that are unlocked weekly during Season of the Risen. At the time of writing, Season of the Risen is over, and you do not need to wait several weeks to complete the quest.
Operation Elbrus Part 1
Gain Intel
To learn about the Lucent Hive’s plans, you need to gather Psychogenic Intel. You can do this by completing the “The Witch Queen” campaign missions in the Throne World, participating in public events, strikes, Crucible, Gambit, and other activities.
However, there is a maximum capacity of 2,000 Psychogenic Intel. Once you reach this limit, you can’t gain more, which may block your progress on this quest and subsequent ones that require Intel.
To avoid this, spend your Intel by opening Runic Chests in the PsiOps Battlegrounds playlist. You’ll find a Runic Chest at the end of each mission, and you can open it for 500 Intel.
Decode Runic Chests
Head to the H.E.L.M. via the Director’s Destinations tab and launch the PsiOps Battleground playlist. Once inside, secure the Hive Lieutenant and then decode the Runic Chest to unlock its secrets. This completes the Week One challenge and grants a massive amount of Challenger XP.
Upgrade The War Table
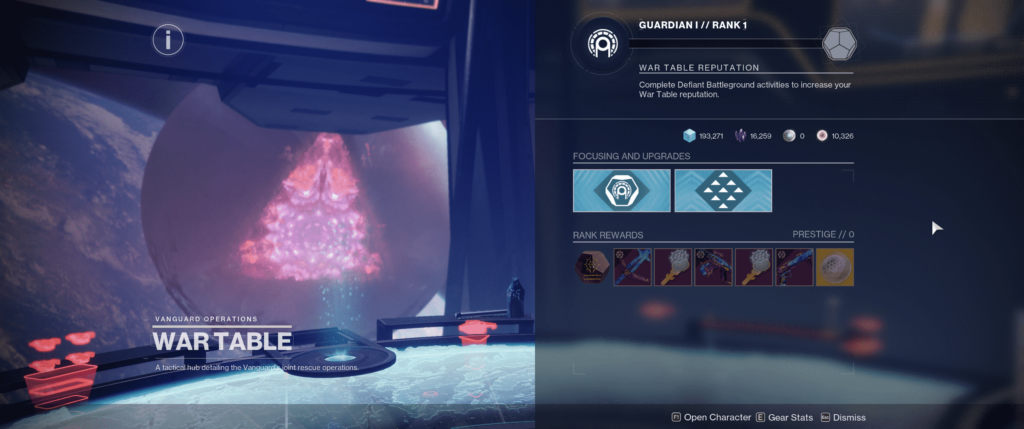
After decoding the Runic Chest, upgrade the War Table and talk to Saladin at The Hangar.
Operation Elbrus Part 2
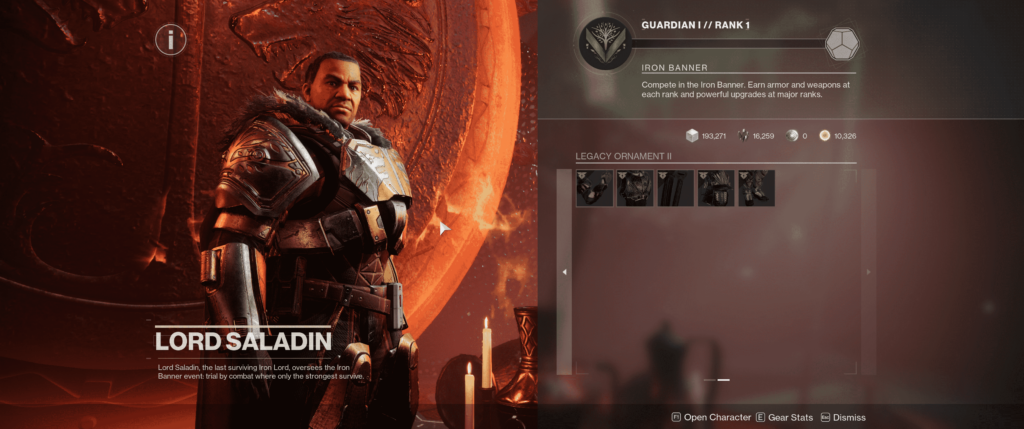
Speak to Saladin
Head to the H.E.L.M. via the Director’s Destinations tab and speak with Lord Saladin at the War Table.
Complete PsiOps Battleground Cosmodrome
Launch the Cosmodrome PsiOps Battleground from the Cosmodrome map. Stay close to the payload and push it through the battlefield, eliminating foes that stand in your way. Infiltrate the building, collect Hive drops, and deposit them near the bell.
Return to the H.E.L.M (The Hangar)
Head back to the H.E.L.M. in The Hangar. Head to the spawn point and enter the Psisorium to continue Operation Elbrus Part 2. Listen closely to Saladin and Crow’s briefing if you want some extra lore tidbits.
Collect Intel
Collect 500 Psychogenic Intel from Strikes, Crucible, or any activity. The PsiOps Batteground is the most efficient activity for getting Intel. Once you have 500 Psychogenic Intel, launch the PsiOps Battleground playlist from the H.E.L.M. map and open the Runic Chest.
Return to the H.E.L.M. to complete Operation Elbrus Part 2.
Operation Elbrus Part 3
Speak to Saladin
Head to the H.E.L.M and talk to Lord Saladin to initiate Part 3 of the quest.
Complete a PsiOps Battleground (Playlist Only)
Enter the H.E.L.M. through the Director and launch the PsiOps Battleground activity. Locate and eliminate a Lighthoarder that spawns during the activity.
Get 500 Psychogenic Intel
Just like the previous weekly quests, you need to gather 500 Psychogenic Intel by participating in The Witch Queen campaign, public events, strikes, Crucible, Gambit, or other activities.
Open a Runic Chest
Head back to the H.E.L.M. via the Director and launch the PsiOps Battleground activity. Complete the activity and open the Runic Chest on the right (once you capture the Hive boss) to spend 500 Intel.
Speak to Saladin
Return to the H.E.L.M. through the Director and approach the War Table for a debriefing.
Now begins the fourth part of Operation Elbrus.
Operation Elbrus Part 4
Speak to Saladin
Head to the H.E.L.M and talk to Lord Saladin to initiate Part 4 of the quest.
Complete PsiOps Battleground: Moon
Open the Moon from the Director and launch the PsiOps Battleground: Moon. Complete the activity to progress to the next step. This version of the PsiOps takes you back to the Scarlet Keep.
Debriefing with Saladin
Head to the H.E.L.M. and talk to Saladin for a debriefing. You must now collect 500 Psychogenic Intel like before. Once you have the intel, open the Runic Chest in PsiOps Battleground.
Talk to Caiatl and Zavala
Head to the Hangar in the Tower to hear a conversation between Empress Caiatl and Commander Zavala. After the conversation, Interact with the flag that’s near Saint-14 to see the cutscene.
Go back to the H.E.L.M. and listen to Saladin’s message at the War Table to end the quest.
Destiny 2: Operation Elbrus Quest Rewards
After you complete all four parts of the quest, you will receive:
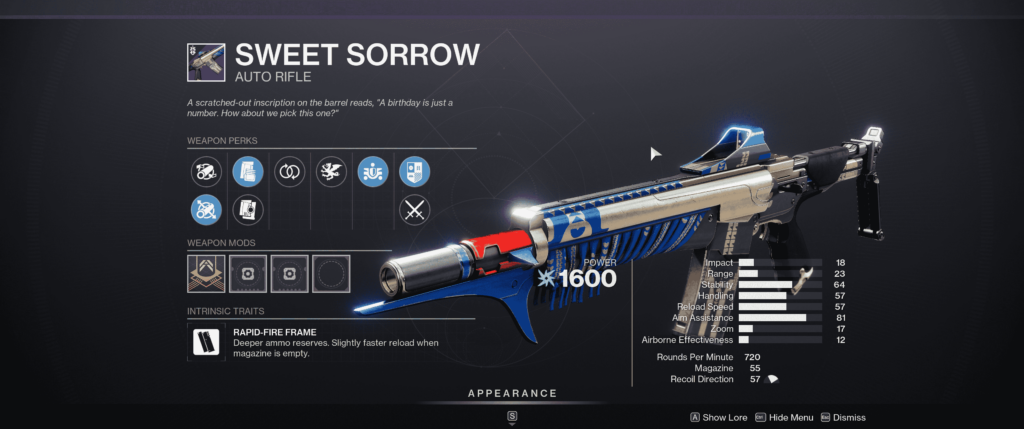
- Sweet Sorrow Auto Rifle
- 500 Psychogenic Intel
Sweet Sorrow is a great auto rifle, and it can roll with great perks like All for One and Demolitionist. The Psychogenic Intel can be used at the War Table for upgrades.
Conclusion
Operation Elbrus is one of the best seasonal quests in Destiny 2 history. You should complete it along with all other seasonal quests before The Final Shape to catch up with Destiny’s story.
If you have the Shadowkeep DLC for Destiny 2, you should definitely check out our guide for the Symphony of Death quest as well!