Water elevators in Minecraft are creative gadgets that allow players to move between different levels of their buildings or mine shafts. Water elevators use different water physics in the game, unlike conventional elevators that rely on complex Redstone mechanics.
The basic idea behind these elevators is that blocks of water sources naturally flow down, pulling the player along. Players can smoothly rise or fall in the game by building a column of water source blocks surrounded by non-water blocks. Cleverly constructed, water lifts can seamlessly integrate into a wide range of architectural styles, from sleek and modern to rustic and medieval.
This post will walk you through the steps of making a water elevator in Minecraft. In addition, we will offer helpful hints and highlight several practical applications for the elevator in the game. Discover how this ingenious device enables smooth vertical movement.
Materials Required to Construct a Water Elevator in Minecraft
To build a water elevator in Minecraft, you must first get the necessary resources. The materials you will need are listed below.
➡️ Building Blocks
Choose any solid block to use as an elevator structure. Common alternatives are wood, stone, glass, and any other block that suits your design preferences.
➡️ Water Resource Blocks
You need a good supply of water source blocks to create flowing water. You can obtain these by filling a bucket with water from lakes, rivers, or seas, or by building an infinite water source.
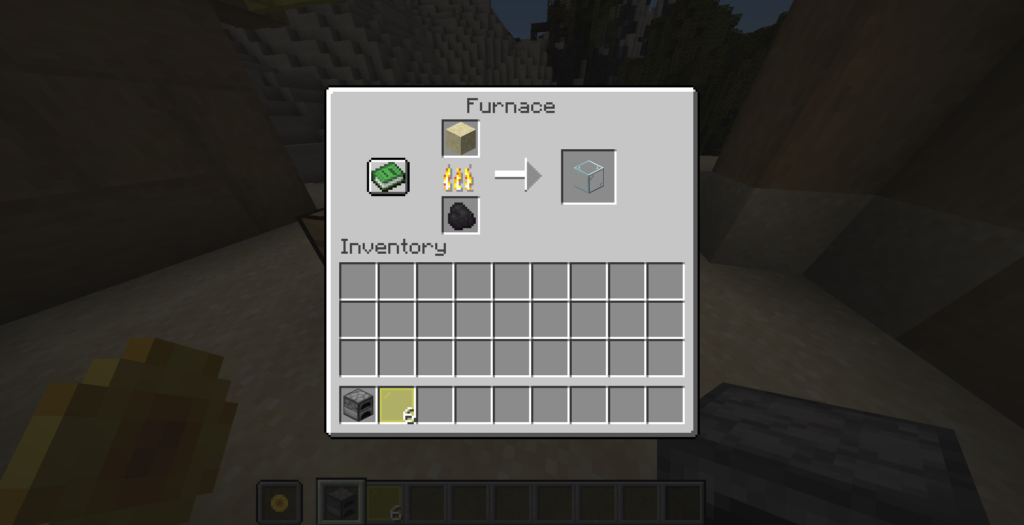
➡️ Soul Sand

When submerged, it creates a bubble column that lifts creatures into the air. This is a very effective way of raising a player.
➡️ A Door or Trapdoor
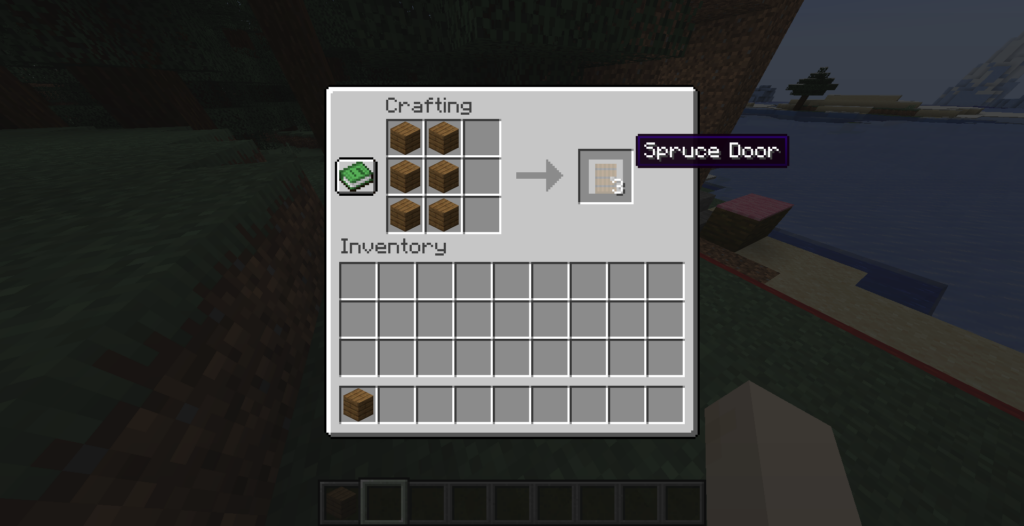
Making a door in Minecraft requires six wooden planks arranged in two columns, as shown in the image above. You can use these to serve as an entrance to a lift or to prevent water leakage above or below.
➡️ Lighting

To improve visibility, especially in dimly lit areas where the lift is situated, you can incorporate flashlights or other light sources. Using a torch and an iron ingot on the crafting table, you can craft a lantern in Minecraft.
Note: The height and complexity of your lift determine the amount of material needed. It’s best to stock up so you don’t run out during construction.
Steps to Make a Water Elevator in Minecraft
Building a water elevator in Minecraft has several stages. Follow this step-by-step guide to build an efficient water lift.
#1. Plan Your Design
Select the location and height of the water lift. Consider any aesthetic preferences when planning your build.
#2. Create a Base

The central column of your water lift should be constructed of blocks. This can be any height you want.
#3. Place the Water Source Block

Place the water source blocks on top of each other in a column, starting at the bottom. This will result in movement of the water column.
#4. Add Soul Sand

If you are going to use soul sand, put it near the bottom of the water column. This will result in a bubble column that will push the creatures up.
#5. Continue Building
Place more blocks and water supply blocks by pulling the elevator up. If you use soul sand, make sure it’s at the bottom of each new section.
#6. Add the Door

Install a door or trap door at the elevator entry point. This prevents water from escaping while allowing the player to enter.
#7. Add Lighting (Optional)
If more light is needed for visibility, add it to the elevator. Lamps or other light sources can be installed within the structure.
#8. Test the Elevator
Enter the water elevator and make sure it lifts you up smoothly. Climb up and down to confirm that it is working properly.
#9. Customize and Decorate
Add additional elements or finishing touches to suit your design tastes.
How to Use a Water Elevator in Minecraft?
The water elevator in Minecraft is a convenient way to move vertically in the game. Here’s how to do it.
#1. Find the Water Lift
Approach the water lift you built.
#2. Position Yourself
Stand at the elevator entrance.
#3. Enter the Stream of Water
Enter the flowing water if it’s a lift-up (using Soul Sand). Hop on if it’s a downhill lift (marked by signs).
#4. Ascend or Descend
You will start traveling in the direction defined by the structure of your elevator.
#5. Control the Movement
To move inside the elevator column, you can turn slightly left or right.
#6. Exit the Elevator
When you reach the selected level, exit the stream of water.
Uses of Water Elevator in Minecraft
Here are some examples of how water lifts can be used in Minecraft.
➡️ Mining Operations
Move quickly between levels of your shaft to efficiently harvest resources.
➡️ Multi-level Base
Your base will be more functional and accessible if you connect different floors.
➡️ Mob Farms
Elevators can be used to transport crowds on Minecraft farms, or vertical collection systems can be built.
➡️ Water Structures
Water lifts can be seamlessly integrated into underwater bases or structures.
➡️ Aesthetic Buildings
Water lifts can be used as a visually pleasing element in architectural projects.
Conclusion
Finally, creating a water elevator in Minecraft offers a practical and attractive alternative for vertical transportation. With the use of tokens, soul sand, and water source blocks, players can move between the many levels of their worlds with ease. Mining operations, multi-level bases, and distinctive architectural designs all benefit from water elevators since they improve gameplay and inject some innovation. When carefully thought out and executed, these lifts can be useful tools in a player’s toolbox. So, use this wonderful component to start constructing and improving your Minecraft experience. Have fun crafting!
To add even more beauty to your new structure, check out our guide on how to craft invisible item frames in Minecraft. This will open up new avenues for design and decoration in the game!