The Brewing Stand is a core element of the potion brewing mechanic in Minecraft and allows users to create a wide variety of magical potions. This interesting block, located in the mythical domain of the Nether, allows players to craft a variety of potions with many benefits. Some of the potions that can be crafted in this brewing stall are the potion of healing and swiftness. The Brewing Stand, which has its own distinct interface, forces players to harness the power of diverse ingredients and their combinations to create a fascinating journey of experimentation and discovery.
This article will guide you through the steps of making a Brewing Stand in Minecraft. We will also teach you how to master the art of brewing potions. Learn how to craft a key brewing tool step by step and how to combine various elements to create powerful and magical potions.
Whether you’re venturing into perilous dungeons, preparing for violent conflict, or simply wanting to understand the secrets of alchemy, the Brewing Stand is your gateway to untold possibilities in Minecraft’s immersive environment. So gather your supplies, hone your brewing skills, and prepare to enter the magical realm of potions, where magic awaits with every brew!
Materials Required to Make a Brewing Stand in Minecraft
You will need the following items to make a Brewing Stand in Minecraft.
➡️ 3 Cobblestone
Players obtain cobblestones by mining normal stone blocks with a pickaxe, making them one of the richest resources in the game. By the way, did you know that you could enchant a pickaxe with the Silk Touch enchantment?
➡️ 1 Blaze Rod
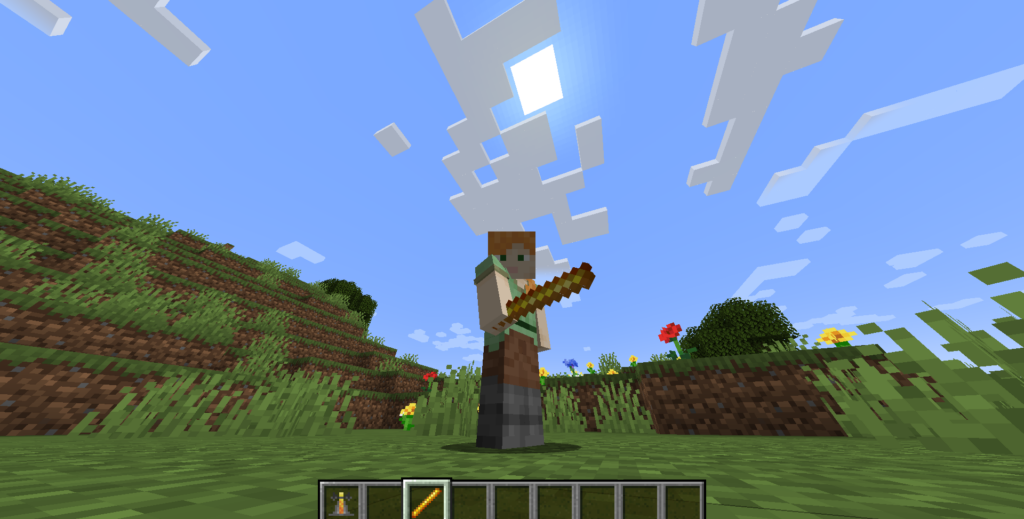
Blaze rods are obtained by defeating Blazes, hostile monsters found in the Nether Strongholds of the Nether Dimension.
➡️ Crafting Table

To build a workbench, place four wooden planks in a 2×2 grid.
Steps to Make a Brewing Stand in Minecraft
Follow these steps to make a Brewing Stand in Minecraft.
#1. Collect the Items
Get three cobblestones and one flaming rod. Cobblestones can be found by mining normal stone blocks with a pickaxe. Blaze rods are obtained by defeating Blazes in the Nether Strongholds of the Nether Dimension.
#2. Open the Crafting Table
Right-click (Java Edition) or press the appropriate button (Bedrock Edition) to open the Crafting Table interface.
#3. Place the Items on the Workbench

Place the three cobblestone on the second row of the 3×3 grid, then place the Blaze Rod in the center slot of the first row.
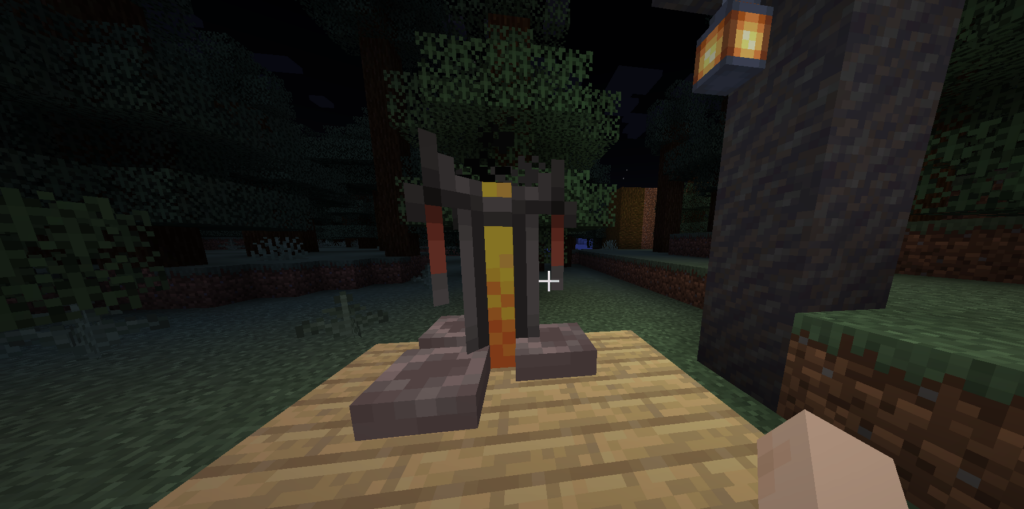
#4. Craft Brewing Stand
When the materials are placed correctly, the cooking rack will appear as an output in the result field.
#5. Access to Inventory
Take the cooking stand from the results box and place it in your inventory.
Congratulations! You are now holding a Brewing Stand, ready to unleash the wonders of potion-making in the world of Minecraft!
How to Brew Potions in Minecraft
To create potions in Minecraft, you will need a Brewing Stand and some potions. Here is a step-by-step guide to making potions. The Brewing Stand allows players to create over 20 different potions, each with its own set of effects, durations, and uses.
#1. Gather the Ingredients
Gather all the ingredients for the potion. You can get these items from many different sources, including plants, mobs, and other goods. Common ingredients include Nether Wart, Blaze Powder, Ghast Tears, Sugar, Spider Eyes, and more.
#2. Create a Brewing Stand
As mentioned in the previous information, craft a Brewing Stand from 3 cobblestones and 1 Blaze rod.
#3. Add Fuel to the Brewing Stand
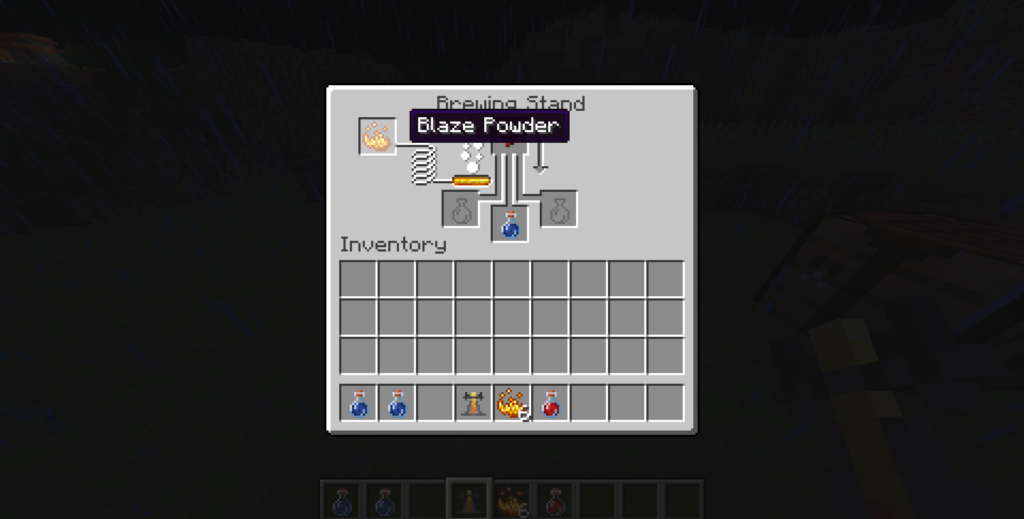
To add fuel to the Brewing Stand, place Blaze Powder in the bottom slot. Blaze Powder is created by combining Blaze Rods.
#4. Add Water Bottles
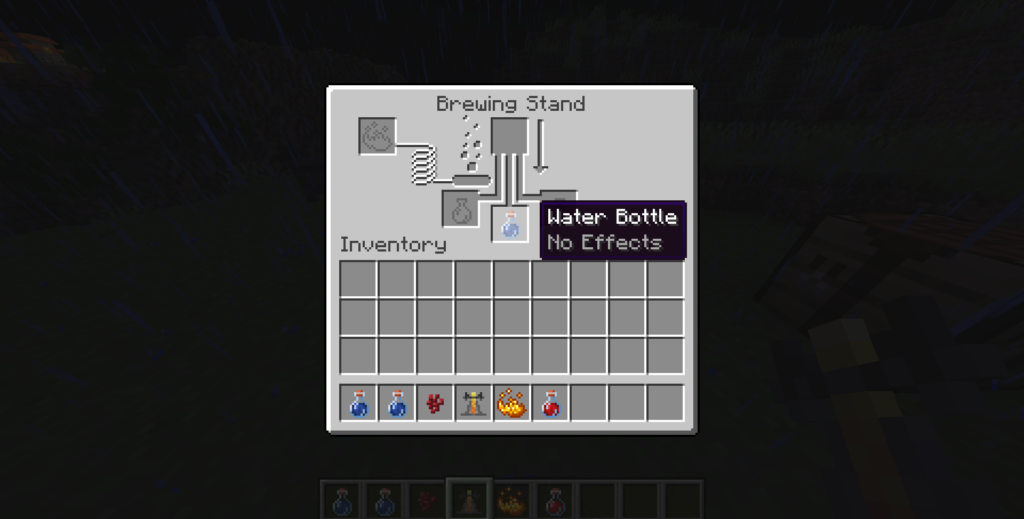
Fill the brewing rack with water bottles. You can collect water from any source using regular glass bottles.
#5. Add the Base Ingredient
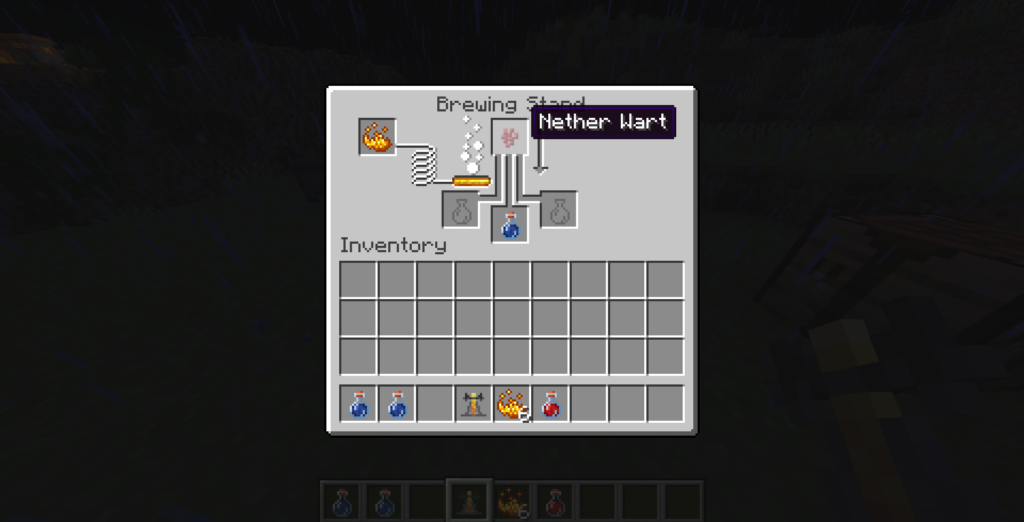
Nether Wart should be added to the Brewing Stand. This is the starting point for all potions.
Fun fact: When a player makes a potion, a mysterious background music track called “Potion” plays, contributing to the atmosphere of the alchemy process.
#6. Add Secondary Ingredients
Depending on the potion you want to make, add secondary ingredients. Different combinations of components have different effects. Check the Minecraft Wiki for recipes or experiments.
#7. Wait for Brewing
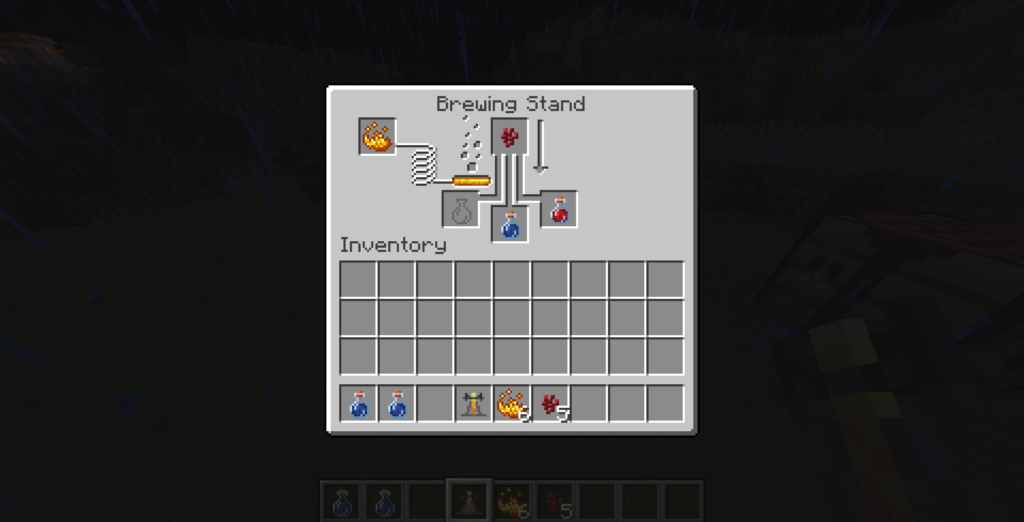
The potions start to ferment in the brewing booth. The water bottles will bubble as the cooking process continues. It may take some time to complete.
#8. Collect Potions
When the brewing is done, go to the Brewing Stand to get freshly brewed potions.
#9. Use/Store Potion
Potions can now be used by drinking them or throwing them as potions. Put them in your inventory or potion racks to use later.
NOTE: Brewing is an experimental process, so feel free to experiment with different ingredient combinations to find diverse potion effects.
Conclusion
Embarking on the journey of crafting a Brewing Stand in Minecraft unlocks a fascinating realm of possibilities. Combine Cobblestones and the elusive Blaze Rod and enter the world of alchemy and potion-making. This essential tool allows you to brew a diverse range of magical potions, from healing potions to powers such as invisibility and resistance to fire. With the Brewing Stand, players can overcome challenges, expand their skills and delve deeper into the captivating world of Minecraft with unlimited creativity and imagination. So start your alchemical quest, and the wondrous potion-brewing adventure can begin!
You can also brew potions with another useful block in the game. Check out how you can make a cauldron in Minecraft!