ThunderBlight Ganon is one of the most challenging bosses in Zelda: Breath of the Wild. If you already encountered it, you know that! And that’s why, in this game guide, we’ll learn how to defeat him.
The best way to defeat him is to prepare with the right gear and technique. This boss fight has three phases, giving you ample time to adjust your playstyle to defeat the boss. Following the guide carefully, you can beat him in less than 2 minutes.
So, let’s get started.
Who is ThunderBlight Ganon?
ThunderBlight Ganon is a monster responsible for Champion Urbosa’s demise. He is quick and deals with lightning-based attacks. The ThunderBlight Ganon is found in the Divine Beast bottom of Boras — located at the bottom left-hand corner of the map, the Gerudo region.
Getting Ready for the Fight
The Legend of Zelda: Breath of the Wild lets you use your creativity to beat the game. You’re free to fight any mob or boss (in this case, ThunderBlight Ganon) the way you want. But, to defeat any mob or boss, you’ll need weapons, shields, food, and anything that gives you an advantage in the fight.
So, what weapons do you need to defeat ThunderBlight Ganon?
My personal favorite is the Master Sword. It is a powerful weapon that can deal massive damage, especially to the blights. Acquiring the Master Sword is a different ball game, but you probably have it if you’re reading the tutorial.
Note: If you don’t have it, you can unlock/acquire it after completing the 40 Shrines / 13 Hearts missions. There are techniques to get Master Sword early, but that requires you to take advantage of a glitch which we don’t recommend as it’ll ruin the game’s progression and immersion. Also, you won’t feel accomplished acquiring a mighty weapon by fooling the game’s design systems.
You can also try Guardian weapons (Guardian Battle Axe and Guardian Sword) by defeating the Divine Beast you encounter just before you start fighting ThunderBlight Ganon.
For Gear, try to get Rubber Tights — a leg gear part of the Rubber Set, including Rubber Armor and Rubber Helm. The set gives you protection against lightning attacks. However, you don’t have to get the entire set. You only need Rubber Tights for this fight by completing the Serpent’s Jaws shrine quest. For adventurous people, you can get the whole set before facing ThunderBlight Ganon.
For Throwables, getting some Bomb Arrows with a Multi-Shot Bow is recommended. You can use Lynel Bow or any other high-damage bow to maximize damage. You can buy Bomb Arrows from the Gerudo Town marketplace in bundles.
Defeating ThunderBlight Ganon in Phases
➡️ Phase 1
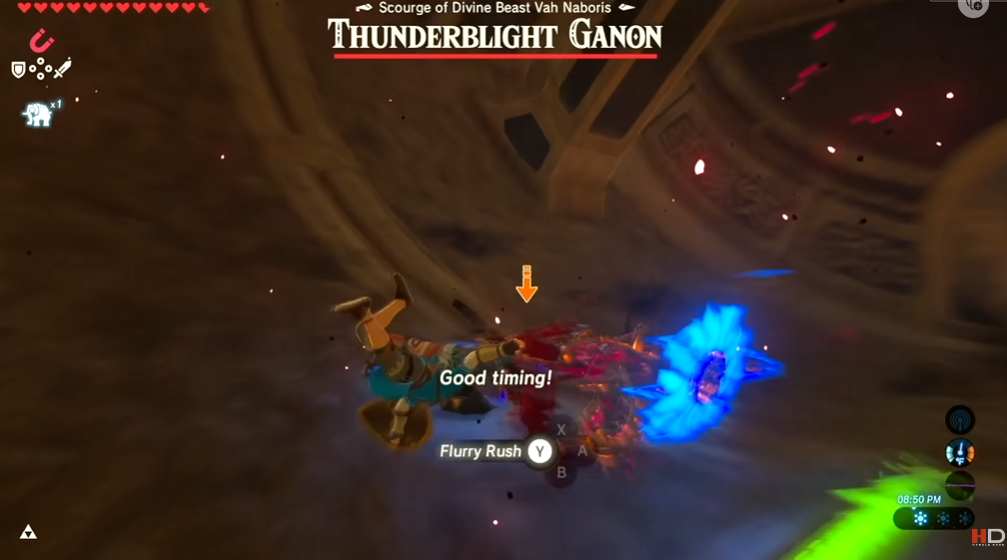
In Phase 1, ThunderBlight Ganon starts with a Rush attack. You can easily dodge this by doing a backflip at the “right” time.
If you do it correctly, it’ll let you make a Flurry Rush attack, where you can attack with the weapon of your choice.
During this period, Ganon is vulnerable and close to you, so you can use melee weapons to do damage. You can choose the Master Sword or Guardian weapons for maximum damage.
Once the dash ends, he’ll continue attacking you with electric orbs. This is where your lightning-resistant armor comes to play. You can dodge them; if you get hit, you’ll not lose much health.
Note: If you get electrocuted, your weapon or shield will drop. All you need to do is pick them up and continue fighting.
After that, he’ll try to make the next Rush attack. You can block the attack by using your shield. It’ll stun him, and you can quickly attack him to deal massive damage.
In some scenarios, he’ll not get stunned. In that case, you’ll need to break his shield by hitting 4 times and then continue attacking to deal 7 more attacks.
It’ll end the first phase as he floats to the top of the playing ground.
➡️ Phase 2
The 2nd phase is more complex than phase 1, so pay attention. Phase 2 begins after ThunderBlight Ganon floats to the top and shoots glowing lightning orbs at you.
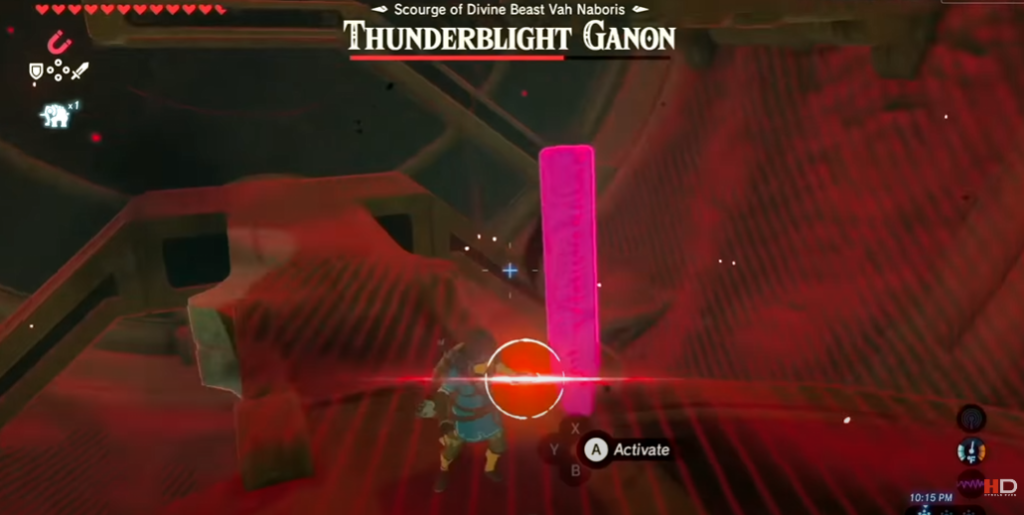
But before Ganon throws lightning orbs, he’ll throw 8-10 metallic poles toward you. These metallic poles can conduce lightning and electricity, expanding the lightning orbs.
As he starts throwing, move to the upper level.
There you’ll find metallic poles. And that’s when you’ll need to use Magnesis to pull those poles from the surface, levitating it at the top of his head.
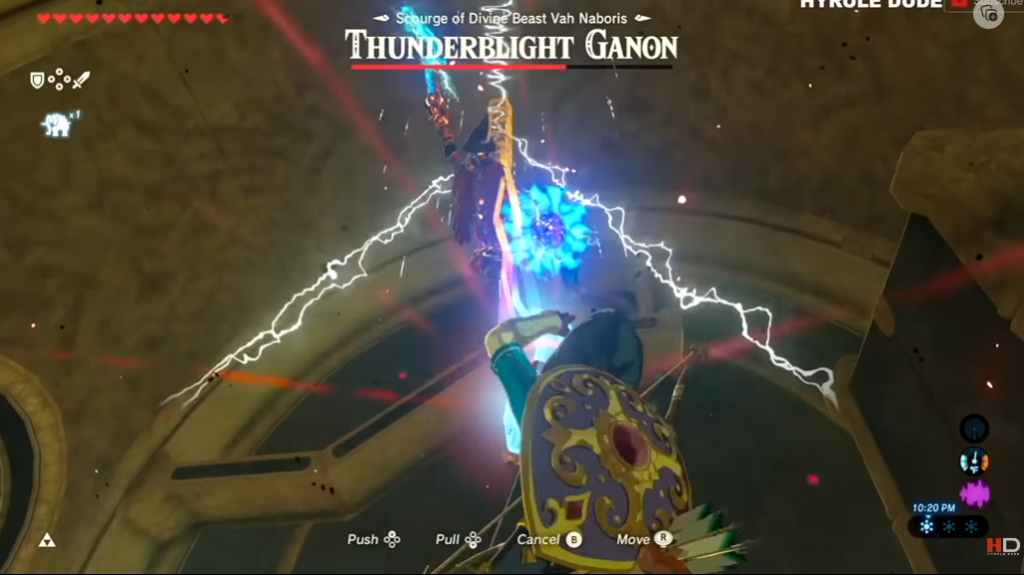
Note: You may find pulling up the metallic poles and dropping them on his head challenging. Keep trying, and you’ll succeed.
He’ll try to attack you again with his Rush attack as soon as you do it. It’s best to move to the lower ground.
And, just like phase 1, you’ll need to back-flip and use your Flurry Rush attack. Alternatively, you can block his attack and do a flurry of damage. Depending on the damage to Ganon, this Phase 2 can go for a few rounds before the fight moves to Phase 3.
➡️ Phase 3
In this phase, Ganon will attack you with Guardian Lasers. There’re two ways you can handle the attacks.
- The first is to use Statis+ to slow him down and then attack him when he charges.
- The other one is to use your shield to reflect the beam at him, doing tons of damage.
This should bring his health to 0. If it doesn’t, keep repeating, reflect the laser, or use Statis+ to slow down and attack him.
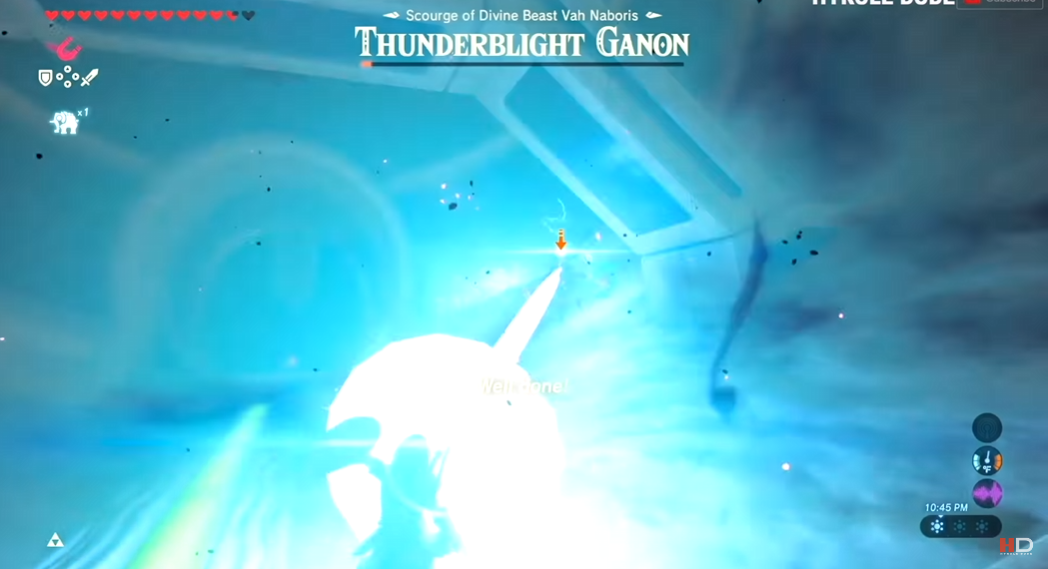
And that’s it! You have successfully defeated ThunderBlight Ganon.
Reaping the Rewards
Once the fight ends, it is time to enjoy your rewards. You’ll get instant rewards in the form of Urbosa’s Fury.
Apart from that, you can also get two additional pieces of equipment after the fight. You must visit Riju in the Throne Room (in Gerudo Town). He’ll give you access to two fantastic pieces of equipment:
- Urbosa’s Sword — The Scimitar of the Seven.
- Urbosa’s Shield — The Daybreaker.
Liked what you read? Check out our list of open-world games for the PS4 to experience new adventures!